In this article
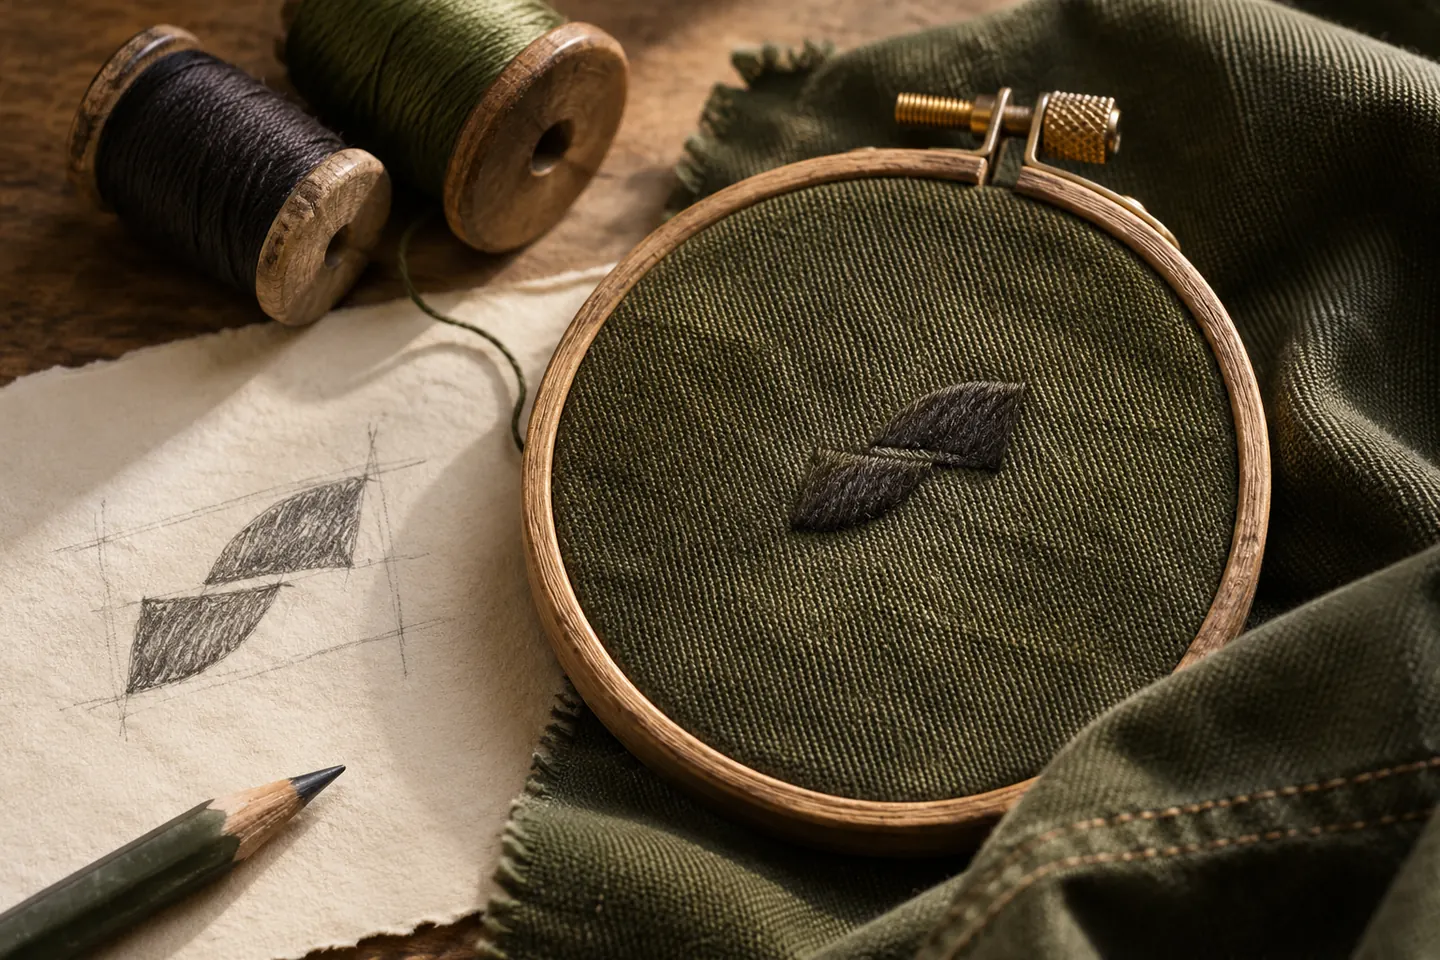
A workwear logo is seen under different conditions from a flat screen. Fabric texture, thread, placement and scale can affect fine details. Sending vector artwork to an embroidery supplier therefore does not complete every technical task. This guide explains graphic preparation and approval rather than prescribing machine settings. The final result should be evaluated with the production specialist on the actual material and garment.
Quick answer
Identify fabric, placement and actual dimensions first. Review thin strokes, small letters and narrow spaces with the supplier and prepare an approved embroidery variant if needed. Treat vector artwork and machine digitisation as separate deliveries. Before a production run, check recognition, colour and placement using a sample on the specified material at the intended size.
Specify the garment and placement
A polo chest, jacket back and cap front offer different spaces. Seams, pockets, zips and stretch may affect placement. A visual mockup can start the discussion but does not replace actual production dimensions. Ask the supplier about available space and garment differences. Discuss separate trials for seasonal clothing rather than treating one sample as approval for every item in the range.
Simplify small details collaboratively
Narrow counters and closely spaced letters may need additional review in thread. Wilcom documentation describes adjustments related to fabric, scale and readability, but there is no useful single measurement prescription for every job. Show the actual artwork and dimensions to the supplier. Where simplification is needed, the designer should retain the connection to the identity and obtain approval for altered features.
Separate artwork from machine digitisation
Vector artwork records shape and brand proportions. Machine digitisation requires preparation for the supplier’s production workflow. Discuss who creates it, whether trials are charged and what handover is expected for later suppliers. A filename extension does not guarantee identical results on every machine. A physical sample provides more concrete evidence than merely confirming that a production file opens on screen.
Compare colour and background through samples
A screen colour and a thread option may not look identical, and garment colour and texture affect the impression. Compare physical thread and fabric samples instead of relying solely on photographs. A hypothetical service team may need different logo colour versions for a dark jacket and a light shirt. Label each version with its intended garment to reduce mistakes when orders are prepared.
Close sample approval with a record
Record garment model, fabric, placement, dimensions, thread choice and artwork version at approval. Check letters, edges and overall balance from a realistic viewing distance. The production specialist remains responsible for technical acceptance. Approving the logo does not mean the designer tested every durability or garment-quality characteristic. If material or model changes in a later run, review whether the earlier sample still provides a suitable reference.
Key takeaways
- Specify garment and placement first.
- Separate vector artwork from machine digitisation.
- Use an approved physical sample for production review.
Frequently asked questions
Is a new logo always needed for embroidery?
No. Existing artwork may work, or a small-use application variant may be needed. Make that decision through a supplier trial and design approval rather than automatically replacing the identity.
Is a PNG enough for embroidery?
It depends on the supplier’s preparation process; clean vector reference can give clearer shape information. Agree separately who creates machine digitisation and what production files are delivered.
Why request a physical sample?
A screen presentation cannot fully show fabric and thread behaviour. A sample at the intended size on the specified material supports a concrete judgement about recognition and placement. Changed production conditions may require another review.